Renewing a HTTPS certificate for IIS without starting a renewal request

It seems the usual procedure for renewing HTTPS certificates for IIS is starting a renewal request, sending it to de CA (Verisign, for example), wait for a file in the reply and import it inside your IIS.

But, what can we do if we have the renewal certificate with a former CSR? You get an e-mail with a part like this:

-----BEGIN CERTIFICATE-----
AoGBAOv4w3UeEEarsyIXsBL1zdBi67fC7jFiqhbs0f7/tDRuvnQvj5V7NF7Awhah
9K3J9fPkOPMfTBMmQCFVTLAlUxioh1jLEZOWDPvrB8h7msO5gM1MpufOh4NRS79J
LvyOKdDtXGfYdVRj/TNpNTFu10wLO2y9o8HAkRUlkCDb/xS3AgMBAAGjggF6MIIB
djAJBgNVHRMEAjAAMAsGA1UdDwQEAwIFoDBGBgNVHR8EPzA9MDugOaA3hjVodHRw
Oi8vY3JsLnZlcmlzaWduLmNvbS9DbGFzczNJbnRlcm5hdGlvbmFsU2VydmVyLmNy
f4&dBgNVHSAEPTA7MDkGC2CGSAGG+EUBBxcDMCowKAYIKwYBBQUHAgEWHGh0dHBz
(...)
-----END CERTIFICATE-----

How can we import this inside our IIS? We should follow this steps:

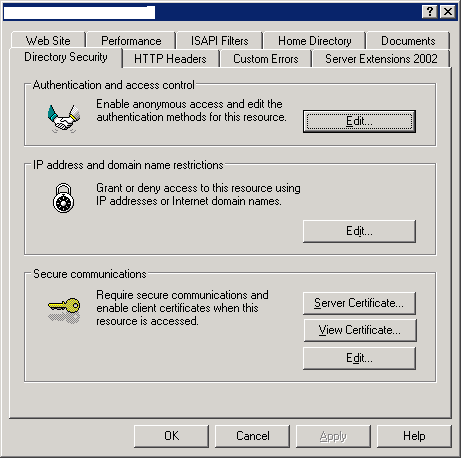
First we export the current certifical. In order to do this, we should go to site properties, tab “Directory Security”:

We start the wizard clicking on “Server Certificate” and go to next screen:

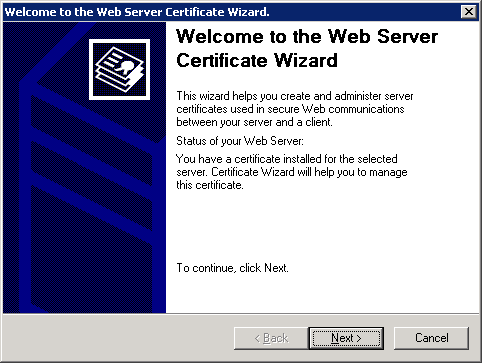
We click on “Next” and go to the next screen:

Where we will choose “Export the current certificate to a .pfx file”. After that, we will be asked where to put it:

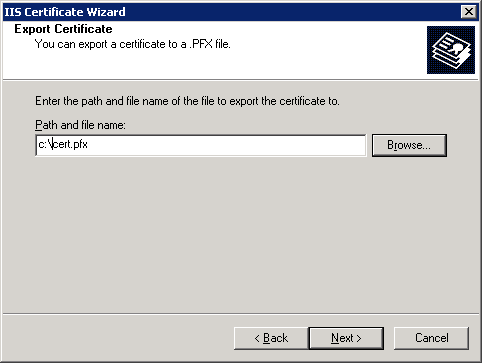
And a password for the export. This way we have our certificate exported.

If we look inside the file, we will see it is binary. To convert it to the same format we received on the email, we can use openssl, with this command:

openssl pkcs12 -in cert.pfx -out cert.pem

It will ask us for the password we’ve put before, and will ask for another password to put to the .pem resulting file.
If we edit this file with any text editor, we will see it contains a “certificate” part, delimited by “BEGIN CERTIFICATE” and “END CERTIFICATE” clauses, exactly the same as the part we got on the email. We just should change the former certificate text with the new one. Once we have done this, we can put it again to binary, “understandable” by IIS. In order to do this, we use again openssl:

openssl pkcs12 -export -in cert.pem -out cert-new.pfx

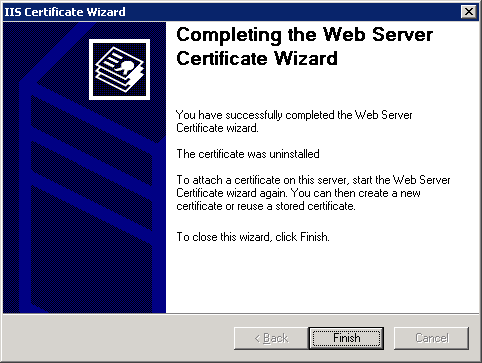
It will ask us for the .pem password, and another password to put to the resulting .pfx. Now, to put it in the IIS site, first we shoult take out the former certificate. In “Directory Security” tab we should start the wizard again, but this time we will choose “Remove the current certificate”:

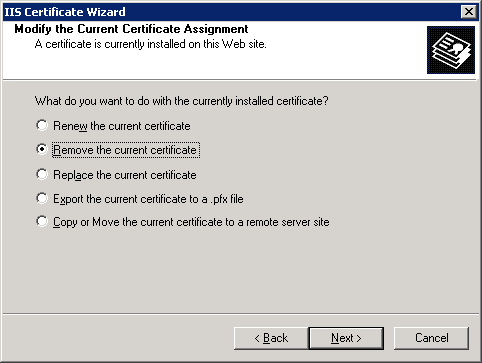
Clicking “next next” we will take out former certificate:

Now we should import the new certificate. In the wizard we will see a new option: “Import certificate from a .pfx file”:

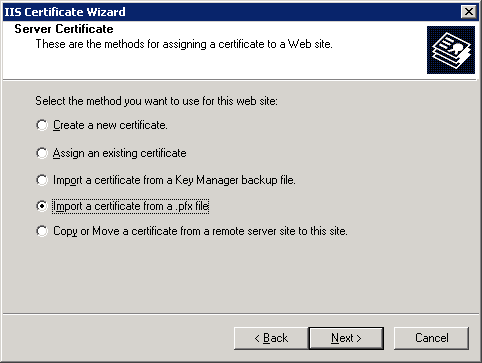
It will ask us for the file to import, and we should choose cert-new.pfx. It will ask us for the password, the port to listen (usually we will use the default 443) and finally we will have the certificate imported:

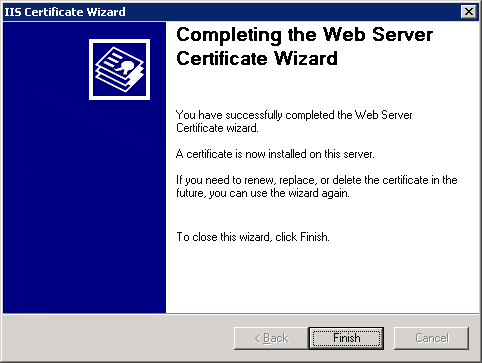
If we look at certificate properties, we will see expiration date has changed. We have the certificate renewed!

Script for automatically using Kubuntu from USB, in windows (updated)

Instructions: We download the file with the tools, we unzip them in some directory, and run kubuntu810.bat. We choose drive letter, we choose architecture, and done! We need to do nothing more. The script itself downloads the ISO file if you don’t have it.

Keep in mind that you must choose a drive being the first physical partition on the device, and it must have a FAT filesystem bigger than 750MB…

I think it could not be easier!!

Why am I publishing this? And so short? Well, yesterday I was told something off…

“What a boring post, Kubuntu-USB post! Why don’t you put commands and nothing more? Don’t you see nobody will read it this way?”

Ok, ok, ok… You don’t need to get mad at me 😀 ACK. Hands on work…

I’ve taken PenDriveLinux instructions, published for Ubuntu, USB Ubuntu 8.10 install from Windows, and I’ve adapted it for KUbuntu. I’ve added some little things, such as choosing 32 or 64 bits architecture, and allowing the use of a proxy for the ISO downloading part (apart from adding a “-f” to syslinux command, because I was getting “Not a removable drive” error).

Update 5/11
PenDriveLinux has done it, with this article, so I no longer have the exclusive 😛

Using Kubuntu 8.10 from a USB device (flash drive, hard drive)

Canonical has just released the new Ubuntu and Kubuntu 8.10. Like every new version, I like to see what’s new (above all because upgrades tnd to break things apart from time to time). And this time I liked to see what’s new even more, because Kubuntu 8.10 (intrepid ibex) changes KDE desktop version, and installs KDE 4.1 by default.

I’ve always thought that using a CD just for testing linux dist, and using it once, is wasting it. Everyone has an 1GB pendrive we’ve been given in some meeting, or we bought (even my father has one, I bought one for him, 8GB for 10€ the other day at MediaMarkt), and a device like that, with fast access and reusable, seems the best place where we can make our tests.

Installing Ubunto on a pendrive is very easy, there are lots of documentatios every were, for instance in PenDriveLinux, where they have an article for installing Ubuntu, with some scripts doing it all. I haven’t found the same for Kubuntu, but you just need a few modifications.

First of all we need an USB device, that can be a hard drive, a pen drive, a mobile phone… anything.

We will use the first physical partition of the device. That is, if we have just logical partitions, we must remove them and create at least one physical partition. This is that way because logical partitions have values of 5 and up (the 4 first values al reserved for physical partitions), and we need it to be the first, the one with value 1. If we have just one partition, then nothing to worry about, go ahead!

We will also need this partition to have a FAT filesystem, either FAT16 or FAT32, big enough to fit the KUbuntu CD (750MB).

Once we have the device, with the first partition prepared, we need to download KUbuntu 8.10 ISO. When we’re done downloading, we should access to the ISO filesystem. We can achieve that in windows by using 7zip for instance, and with a simple mount in linux:

mkdir /tmp/live-cd
mount -t iso9660 -o loop kubuntu-8.10-desktop-amd64.iso /tmp/live-cd

Now we should copy to the root of the unit some directories: “casper dists install pics pool preseed .disk”, also “isolinux” directory content and “md5sum.txt README.diskdefines install/mt86plus” files. From linux console, that would be:

cp -r casper dists install pics pool preseed .disk isolinux/* md5sum.txt README.diskdefines install/mt86plus /tmp/live-cd

In the graphical desktop of windows and linux, you should drag’n’drop them to the corresponding directory. We also should change the filename “isolinux.cfg” to “syslinux.cfg” and overwrite “text.cg” file with this data:
text.cfg

default persist
label persist
menu label ^Run KUbuntu Persistently saving changes back to USB
kernel /casper/vmlinuz
append file=/preseed/kubuntu.seed boot=casper persistent initrd=/casper/initrd.gz quiet splash --
label live
menu label ^Try KUbuntu without saving any changes to USB
kernel /casper/vmlinuz
append file=/preseed/kubuntu.seed boot=casper initrd=/casper/initrd.gz quiet splash --
label live-install
menu label ^Install KUbuntu
kernel /casper/vmlinuz
append file=/preseed/kubuntu.seed boot=casper only-ubiquity initrd=/casper/initrd.gz quiet splash --
label check
menu label ^Check CD for defects
kernel /casper/vmlinuz
append boot=casper integrity-check initrd=/casper/initrd.gz quiet splash --
label memtest
menu label Test ^memory
kernel /install/mt86plus
label hd
menu label ^Boot from first hard disk
localboot 0x80

Finally we need to make this drive bootable. For this we need syslinux tool, which we can find at kernel.org website in all versions (windows and linux, but a simple apt-get install syslinux will do the trick). Once we got it, we run:

syslinux -maf UNIT

Where we should change “UNIT” for /dev/sX1 in linux and “X:”in windows (and also change the X for your letter!).

And that’s it. We just need to check the computer will boot from USB devices, and done!

As it’s this easy (maybe more easy than it’s to explain it), maybe I’ll do some scripts for installing from windows and linux… but this will be other day!

More windows remote administration tools: winkill, winshell, wininfo

Following the path we were on former posts , if we have seed with psexec, noe it’s very easy to make new tools. Three examples:

winshell.sh
With this tool we get a shell in windows servers. It doesn’t use psexec because it haven’t, cmd.exe is in system path.

#!/bin/bash

[ $# -ne 1 ] && echo "Error, I need one argument" && echo "Use: $0 server" && exit 1
PROGPATH=echo $0 | /bin/sed -e 's,[\/][^\/][^\/]*$,,'
. $PROGPATH/winvars.sh

winexe //$1 "cmd" $PSCREDENTIALS

wininfo.sh
With this tool we can get some server information. Physical RAM, SO version, uptime, number of processos, frequency of them, and video card driver. This last detail doesn’t seems important at all, but it’s very useful, because it can tell you wether if a server is physical or virtual. If video driver is something like “ATI Technologies Inc. 3D RAGE IIC PCI”, then it’s a physical machine. If video driver is something like”VMware SVGA II”, then it’s a virtual machine.

#!/bin/bash

[ $# -ne 1 ] && echo "Error, I need one and only one argument" && exit 1
PROGPATH=echo $0 | /bin/sed -e 's,[\/][^\/][^\/]*$,,'
$PROGPATH/winpsexec.sh $1 pstools\psinfo

winkill.sh
As its name clearly stands, it’s a process killing tool (we can previously know the PID useing winps.sh).

#!/bin/bash

[ $# -ne 2 ] && echo "Error, I need two arguments" && echo "Use: $0 server pid" && exit 1
PROGPATH=echo $0 | /bin/sed -e 's,[\/][^\/][^\/]*$,,'
$PROGPATH/winpsexec.sh $1 "pstools\pskill $2"